Quickstart: Flarebox
1. Install
Section titled “1. Install”Setup program (x64). Installs for your user only, no admin needed.
DownloadFlarebox_0.2.1_x64-setup.exeSHA-256 2dec5a103ca7569b1ed13bbb8e0f7bb17a0421c09fe2e3986e81aeb44dbd83bc
Released 2026-10-16 · Release notes · SHA256SUMS.txt
Run the setup. It installs for your user with no admin prompt. If SmartScreen warns you, check the SHA-256 and choose More info → Run anyway. For the MSI and silent installs, see Install.
You’ll need Node.js on your PATH for local projects. Flarebox tells you at start if it can’t find it.
2. Add your projects
Section titled “2. Add your projects”- In the sidebar, click Add → Watch a folder…
- Pick the folder you keep code in, e.g.
C:\Users\you\Sites. - Flarebox lists every wrangler project under it (
wrangler.toml,.jsonor.jsonc), with its framework and package manager. It re-scans when a config appears or changes.
To add one project from anywhere, use Add → Pin one project… instead.
3. Run one
Section titled “3. Run one”Select a project and click Start, or press Ctrl+K and type its name. Flarebox runs wrangler dev with the project’s own wrangler (or npx), picks a free port, and shows the address when it’s ready.
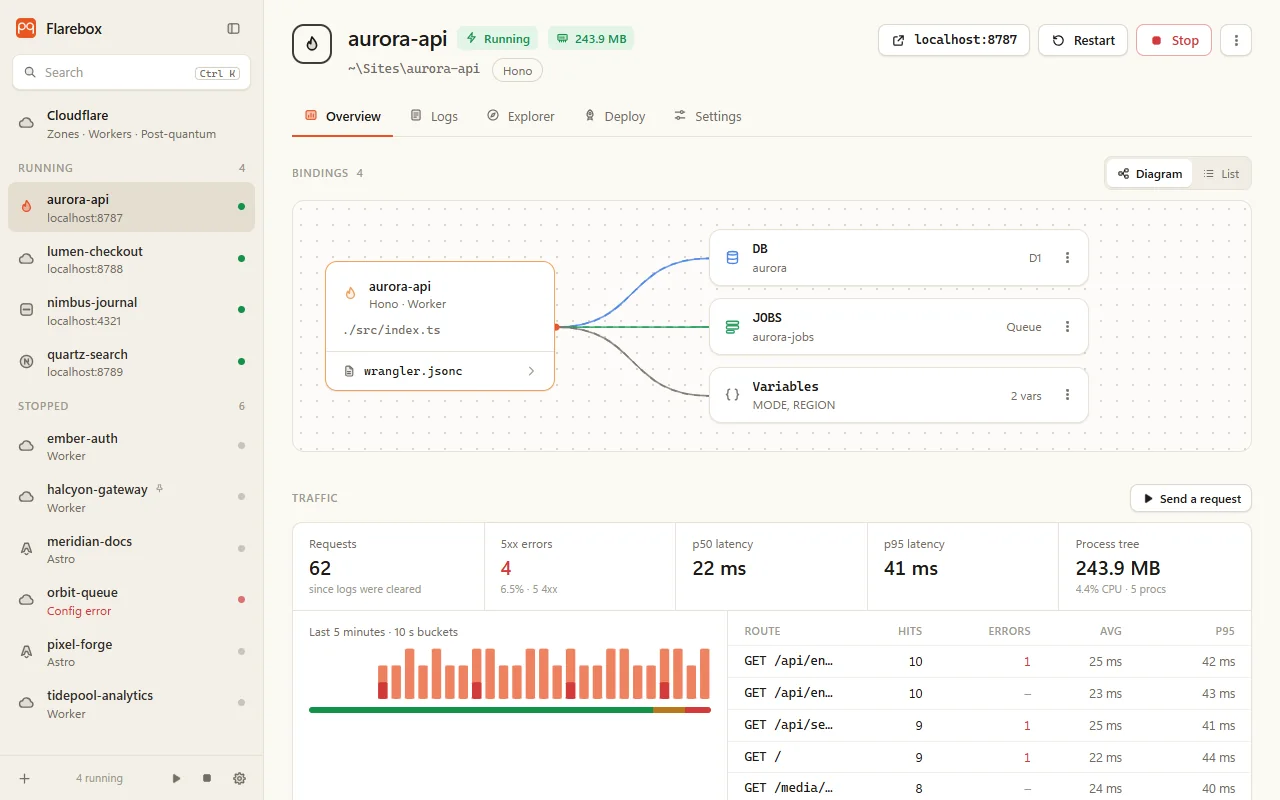
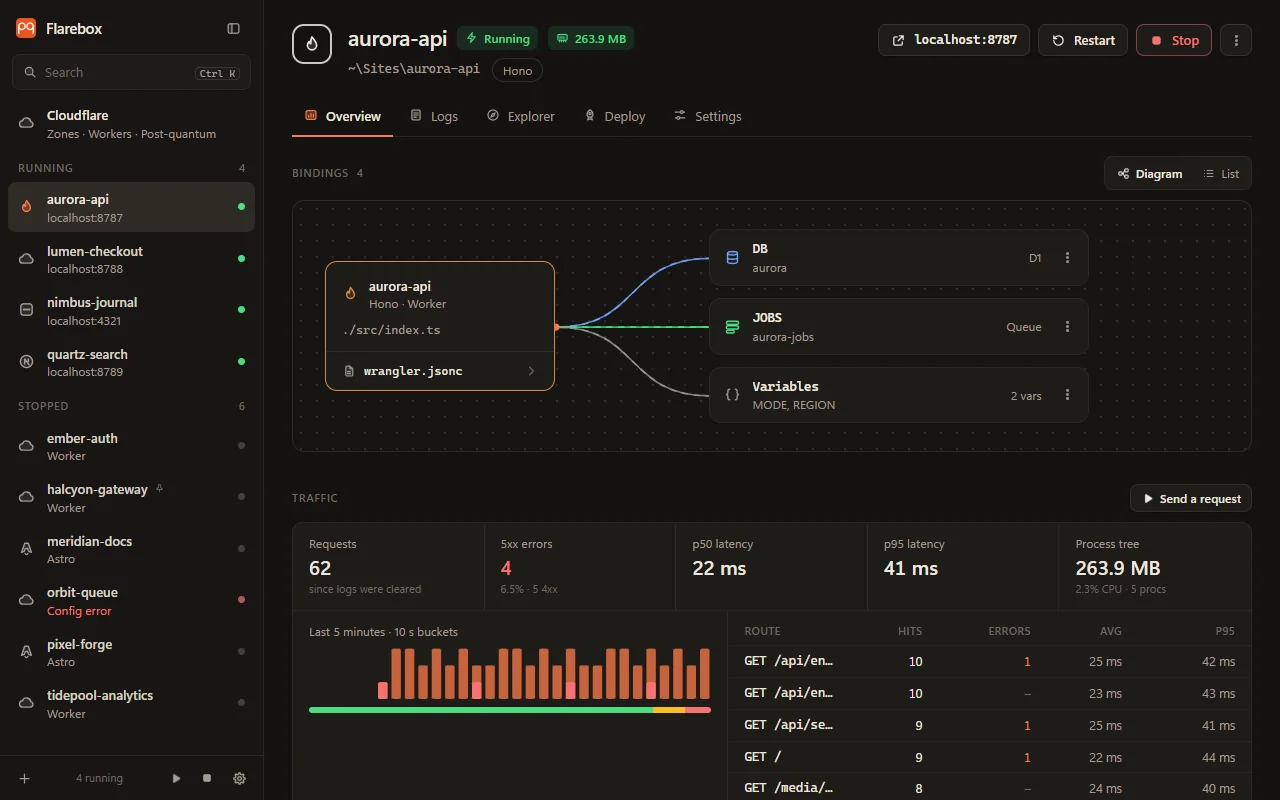
- Overview draws the Worker and its bindings, and shows live traffic parsed from the dev server’s log.
- Logs has search (Ctrl+F), errors-only and auto-follow.
- Explorer browses the local D1, KV and R2 data.
Closing the window keeps the server running in the tray. Quit Flarebox in the tray stops everything.
4. Check it for post-quantum
Section titled “4. Check it for post-quantum”Open the project’s Deploy tab and find the Post-quantum check. Flarebox lists the project’s custom domains, the hosts its code calls, and the https:// URLs in its config vars, and runs pqdoctor on each: verdict, cause and fix.
Type any host into Check any host to check something else, including ssh://host for SSH.
5. Connect your Cloudflare account
Section titled “5. Connect your Cloudflare account”- Click Cloudflare at the top of the sidebar. It opens on the Token tab.
- Click Create a token in the dashboard. In Cloudflare, create a custom token with the read permissions Flarebox lists under Permissions to give it: at least Zone → Zone, DNS, Zone Settings, SSL and Certificates → Read.
- Paste it into Read token and click Check and save. Flarebox verifies it with Cloudflare, stores it in Windows Credential Manager, and shows which reads work.
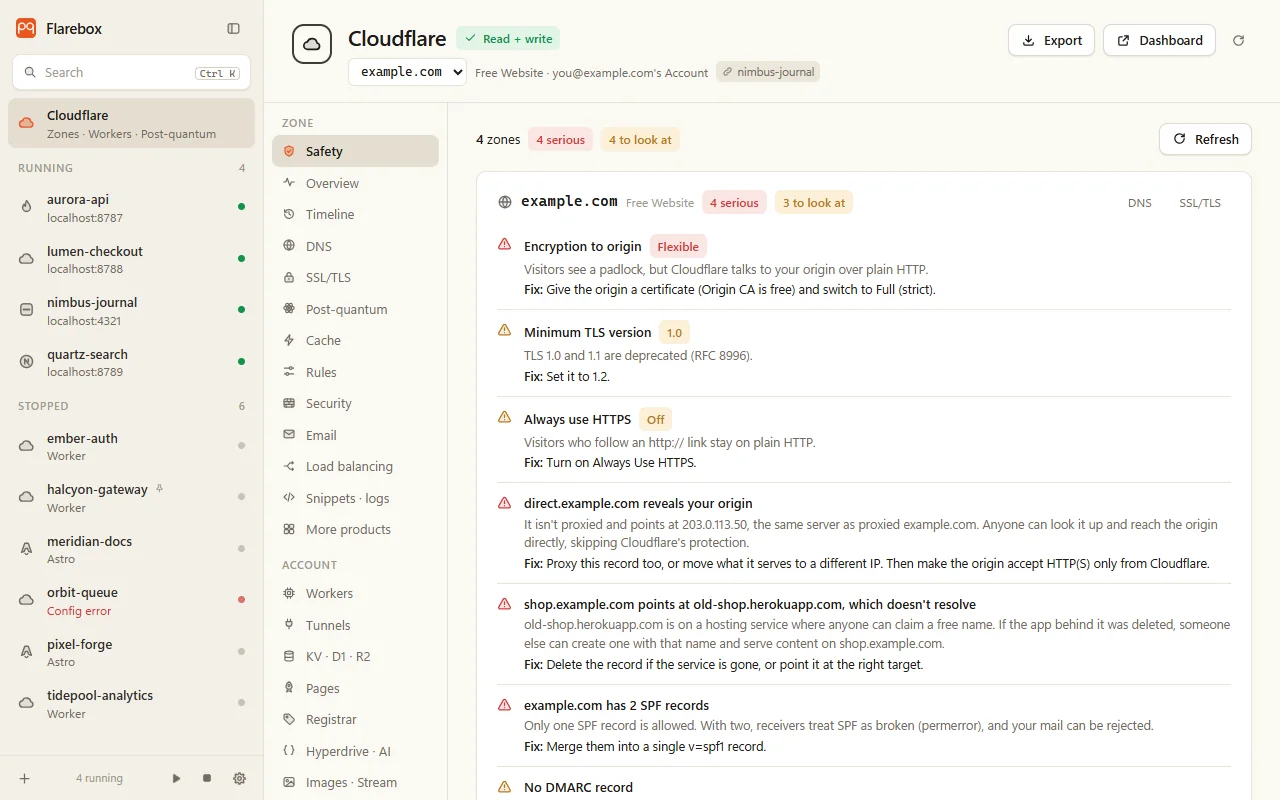
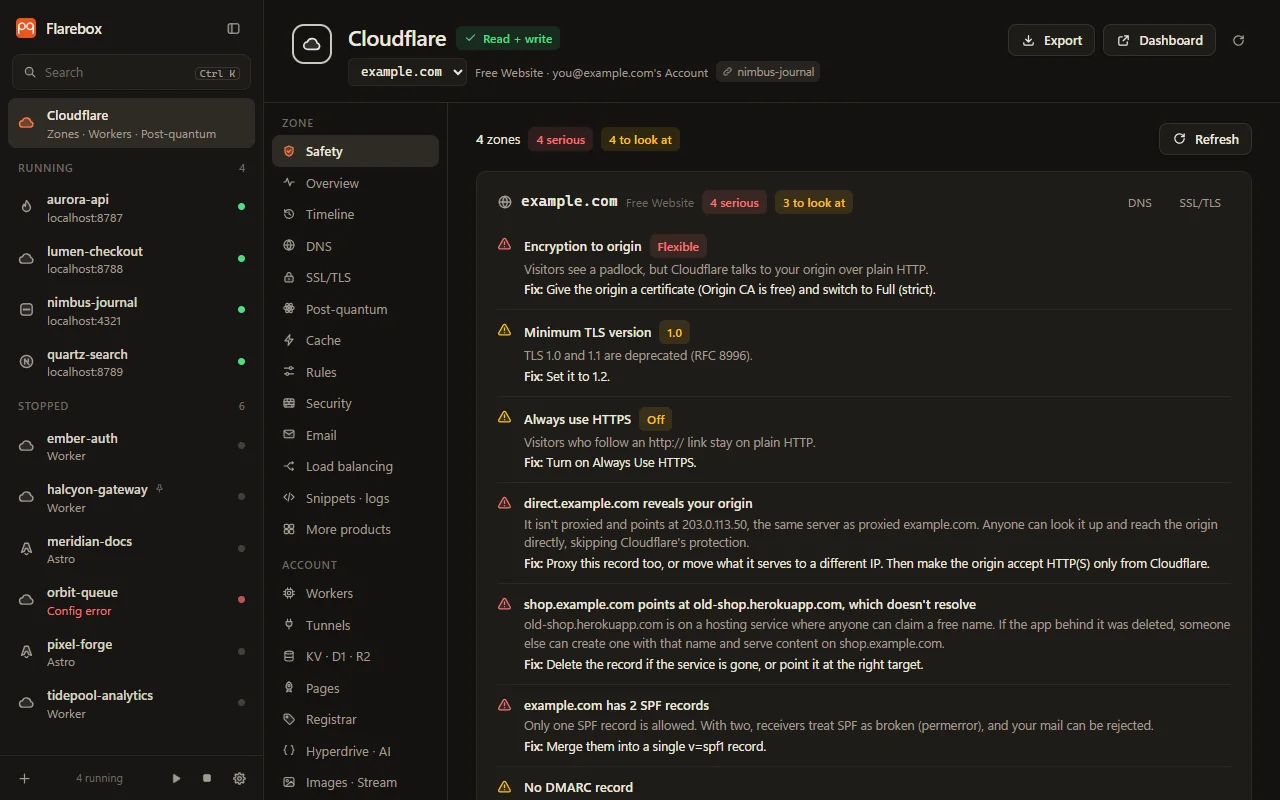
- Open Safety. It checks every zone at once, and Check N origins runs pqdoctor against the origins behind your proxied records.
6. Track your origins
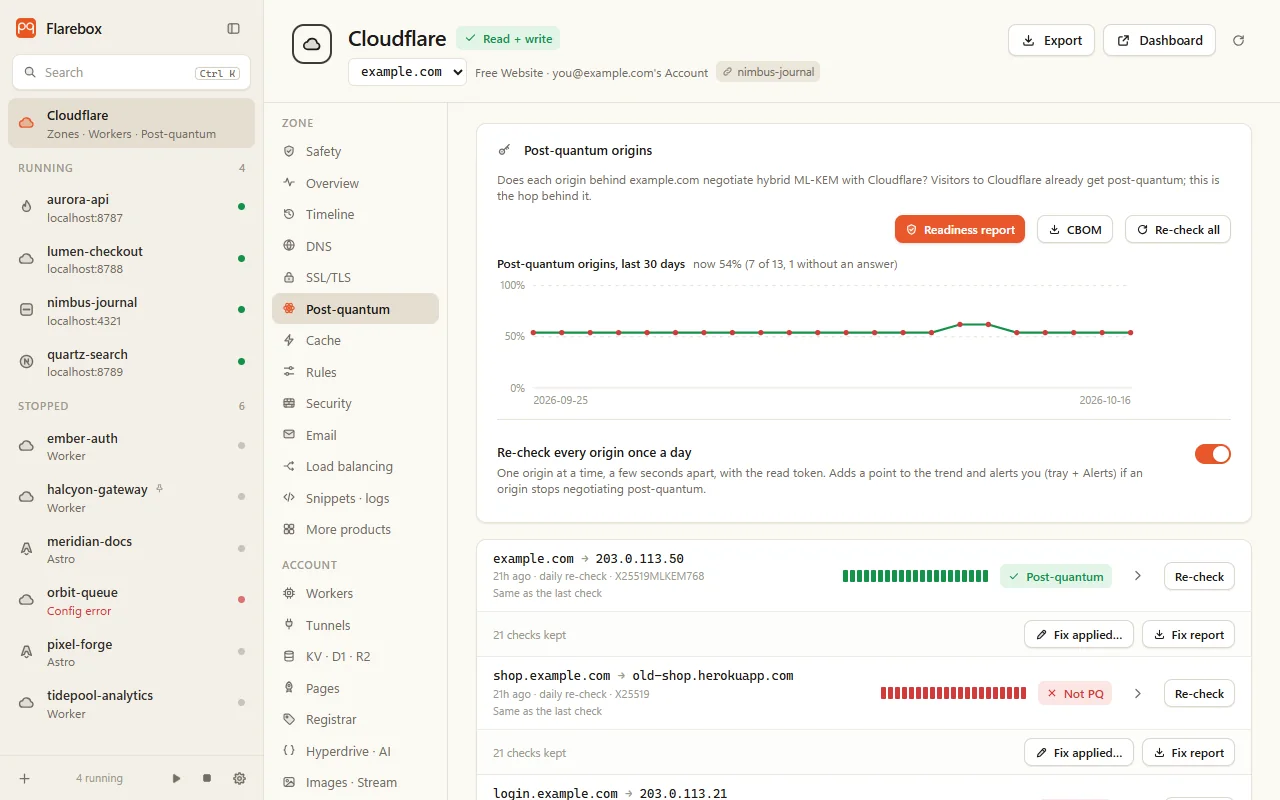
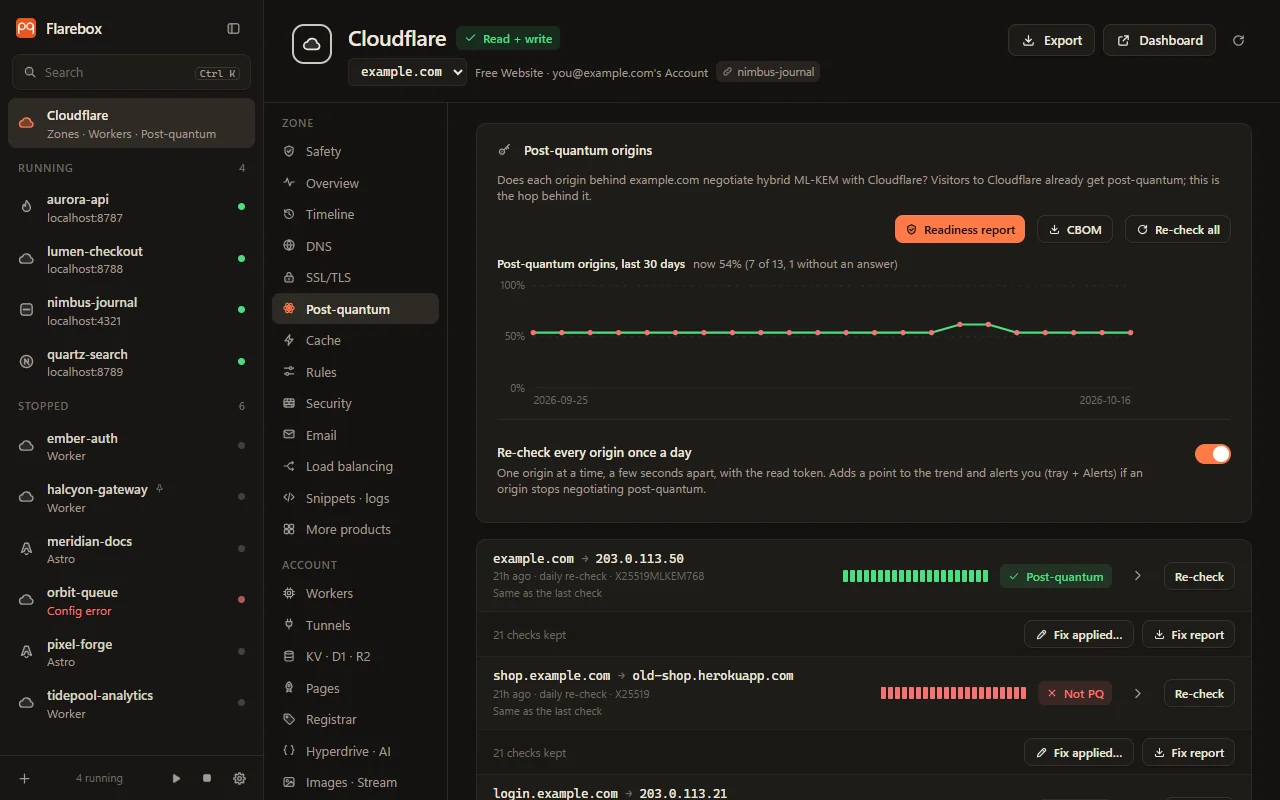
Section titled “6. Track your origins”Open Post-quantum for the zone. Every origin has its latest result, a history of checks and a daily re-check. When you fix one, click Fix applied…, re-check it, and save a before/after Fix report.